

Here is an example of how you can proceed when building a cold storage room, and many tips on what you should consider.
In our example, we have based our work on the following:
You have a room in your home where you want to build a small cold room. Here you choose to build the cold room in a corner of the room against two outer walls. Above the roof of the shed is a cold attic and the floor is made of wood.
Read also: Cold rooms can be delivered as a complete building kit in elements
The location
Many locations affect how you should build your cold room. Remember that it is the total U-value that counts – if you insulate the walls and ceiling but not the floor, the result will not be as good as it could be.
Glass surfaces greatly influence the choice of the size of the unit, while a correct moisture barrier ensures the right climate inside the room and gives you fewer challenges on many levels.
Aeration
To create ventilation, the walls, which in this example are external walls and a cold attic, must be laid out by 10 cm (5 cm applies to panel rooms).
Ventilation is done using slots in the molding or holes/grates at the top and bottom towards the ventilation slot. This way, the correct temperature is maintained around the refrigerator all year round. It is important to create air circulation, and not stagnant air around the room.
If the room is built on the ground floor on a concrete floor with a heated basement underneath, you can lay a vapor/moisture barrier directly on the floor, 5 cm of insulation and a floating floor on top as a cold room floor - an insulated floor is always recommended.
Moisture barrier
Plastic foil/moisture barrier with a thickness of 0.20–0.25 mm is used to prevent moisture from entering walls, floors and ceilings. All joints are overlapped generously, and the joints are fully taped so that no air can leak between overlapping plastic. This is important! The tighter you can get the plastic, the better the cold room will be.
The risk of poor airlock that do not seal are fungus, rot and moisture damage in walls, floors and ceilings as well as frost/ice in the unit.
The plastic/moisture barrier is stapled to the outside of the battens that we have against the floor, outer wall and ceiling. Remember to tape over the staples in the plastic as much as possible.
Travel works
We recommend that you build the cooling room with space for at least 10/15 cm thick rock wool mats, because a well-insulated room saves energy and provides less operation/wear and tear on the cooling unit.
The framework is built of wood with CC60 (60 cm from center to center), and no diffusion-proof materials must be present inside the cold room.
Insulation
The walls are insulated between the studs in the frame and against the moisture barrier/plastic.
A typical problem for cold rooms that have been standing for a few years is that the insulation has sunk a little into the walls. This causes the insulation at the top of the walls to disappear. Therefore, make sure the insulation is well-fitted so that this does not happen.
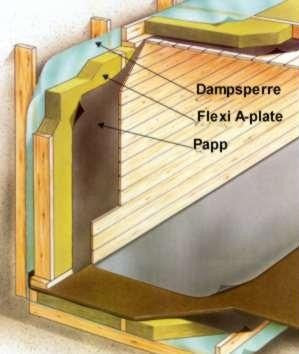
Cardboard and panel
We are then ready to cover the insulation with wool cardboard, which is used to hold the insulation in place and prevent any odor. The wool cardboard should be attached to the studs before the interior panel is knocked into place.
The recommended type of wood inside the cold room is untreated spruce, because treated panels can add flavor to food.
If smooth materials must be used for cleaning purposes, such as bathroom panels, the panels must be attached to battens, so that there is a distance of approximately 3 cm to the wool cardboard with openings at the top and bottom. The ventilation/circulation will then take place behind the panels.
If you want to surface-treat the wood/panels inside the cold room, a diffusion-open, water-based panel varnish is preferred. If you are going to treat the spruce panels, remember that there is a high risk that the smell from the paint, varnish and stain will settle in the food.
Floor
The floor can be built in the same way as the walls and ceiling (read the sections above).
Refrigerator door
Insulated doors are usually divided into two groups: integrated doors and external doors .
One integrated door integrated into the wall, and is most often used when the cold room is built into, for example, a kitchen, where you need a door that matches the rest of the interior. You can mount a furniture panel from your kitchen supplier on the integrated door, or go for a stainless steel front.
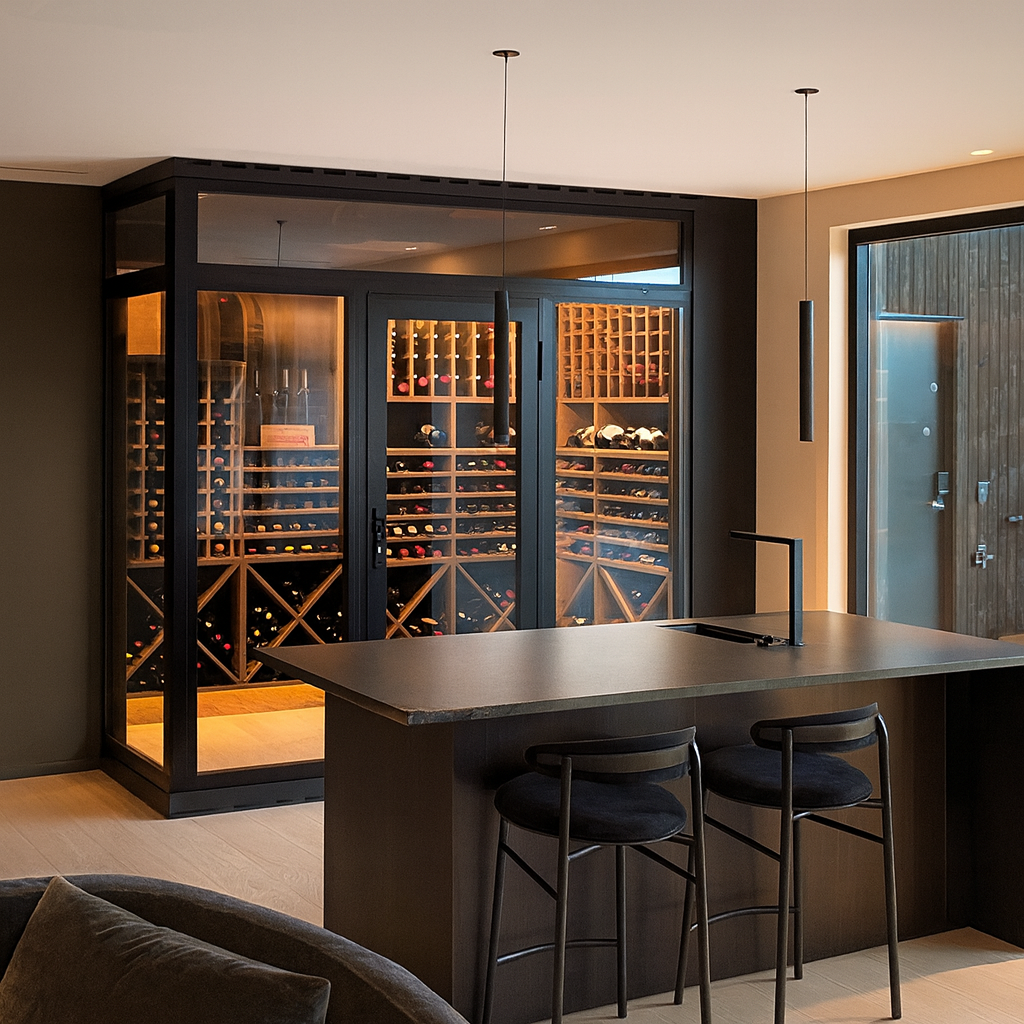
One external door is a simple and straightforward door that is located on the outside of the wall. Four plastic angles with metal inserts are attached to the light opening, against which the magnetic strip is sucked. External doors can also be supplied in glass for wine rooms or beer coolers, where the temperature is normally higher than in a cold room. You can get light openings for these doors from the supplier - remember to read the instructions carefully. Some can also make external doors to measure, if desired.
Cooling unit
In general, there are some things to consider when buying a cooling unit , such as what is the power consumption? There are big differences here. How should it be installed? Some have several solutions for this. Is it okay with a plastic cover on the back or do you want recessed grilles? Does the unit have a dust filter? It may make cleaning considerably easier.
Sound is also important. The cold room should have quiet fans, and the unit should be built so that it does not create vibration, as vibration can propagate into the wall and be a nuisance. Tip: Do not screw the unit too tightly into the wall, because this often increases the sound level.
Light outlet in the cold room is an advantage, and it is best to have it on the unit – you would rather not make holes in the cold room walls/ceiling and destroy the moisture barrier. The light should be placed slightly out on the ceiling, and should not be located next to the unit or walls.
Choosing the right performance for the unit is also important. Units for private households are almost always marked with how many liters/m³ of cold storage it can handle at most. If you have built a cold storage yourself of 7.5 m³/7,500 liters, and you find an unit that can handle 8 m³/8,000 liters, it will usually work fine if your room is well insulated and not used much.
But for many people it may be wise to choose a unit that is slightly larger than exactly what is needed. This also means that the unit works less. It is important to clarify here that we are talking about a little bigger, not much.
If you have an old cold room of 10 m³/10,000 liters and are replacing the unit, we recommend a unit that can handle 12 m³/12,000 liters. It is important to clarify here that if you have a glass door, you must ask for advice on sizing, as this can significantly affect the choice of unit size. The m³/liter stated on the units does not take into account glass or glass doors.
Compact units (plug and play): This is Complete systems that are mounted in the wall with ventilation on the back and with a plug . You can mostly easily install these yourself.
There are different models on the market, so it may be a good idea to choose a model before building the cold room. Some models have smart solutions for getting a nice finish on the back.
Almost all small compact units have automatic removal of condensation water. This is a great advantage, as you do not have to install a drain in the cold room.
Split units (2-part units): Splitting machines are mainly for those who want the compressor is placed in a different room than where the refrigerator is located . The reason may be that you want to use the heat that the compressor section provides in another room, for example in the basement or garage. Another advantage is that the sound from the compressor section is moved.
Split units cost about the same as compact units, but split units incur an additional installation fee – an authorized refrigeration installer is needed to lay pipes, fill gas and start the system. Tip: Much of the installer's fee is working hours for pipework, but if you pre-drill holes in walls, floors or ceilings as agreed with the installer, he or she will save a lot of time on installation, and you will save money.
A split compressor can also be installed outdoors and in cold rooms, but remember that at temperatures below 10 °C, the units must have something called winter operation.
The disadvantage of a split system is that you need to have a drain to the cold section, which is located inside the refrigerator compartment. This is not necessary with most compact units.
Temperature in the cold room
The unit should ensure the correct temperature and humidity. Normal food temperatures are usually 4–5°C, but the temperature of the air around the room varies, for example, between 2.5–7 °C. Therefore, it is important to measure the temperature with a thermometer placed in a glass of water. It is the core temperature of the food that should be, for example, 4 °C, and not the air, as it fluctuates slightly.
Room temperature is a good indication that things are working, but nothing more than that. If you have fruit and vegetables in the refrigerator, you should store them in sealed plastic boxes. This will protect them from the cold air that circulates, preventing them from drying out and keeping them fresher. The plastic boxes are also handy when you need to bring things in and out of the refrigerator.
For wine, the same principle applies. Here, 12–17 °C is most normal, and it is the wine, not the air, that should be measured. Therefore, the temperature is most accurately measured in a glass of water, but here it can be smart to add a WiFi meter that gives an indication of air temperature and humidity – RH is preferably in the range of 50–75%.
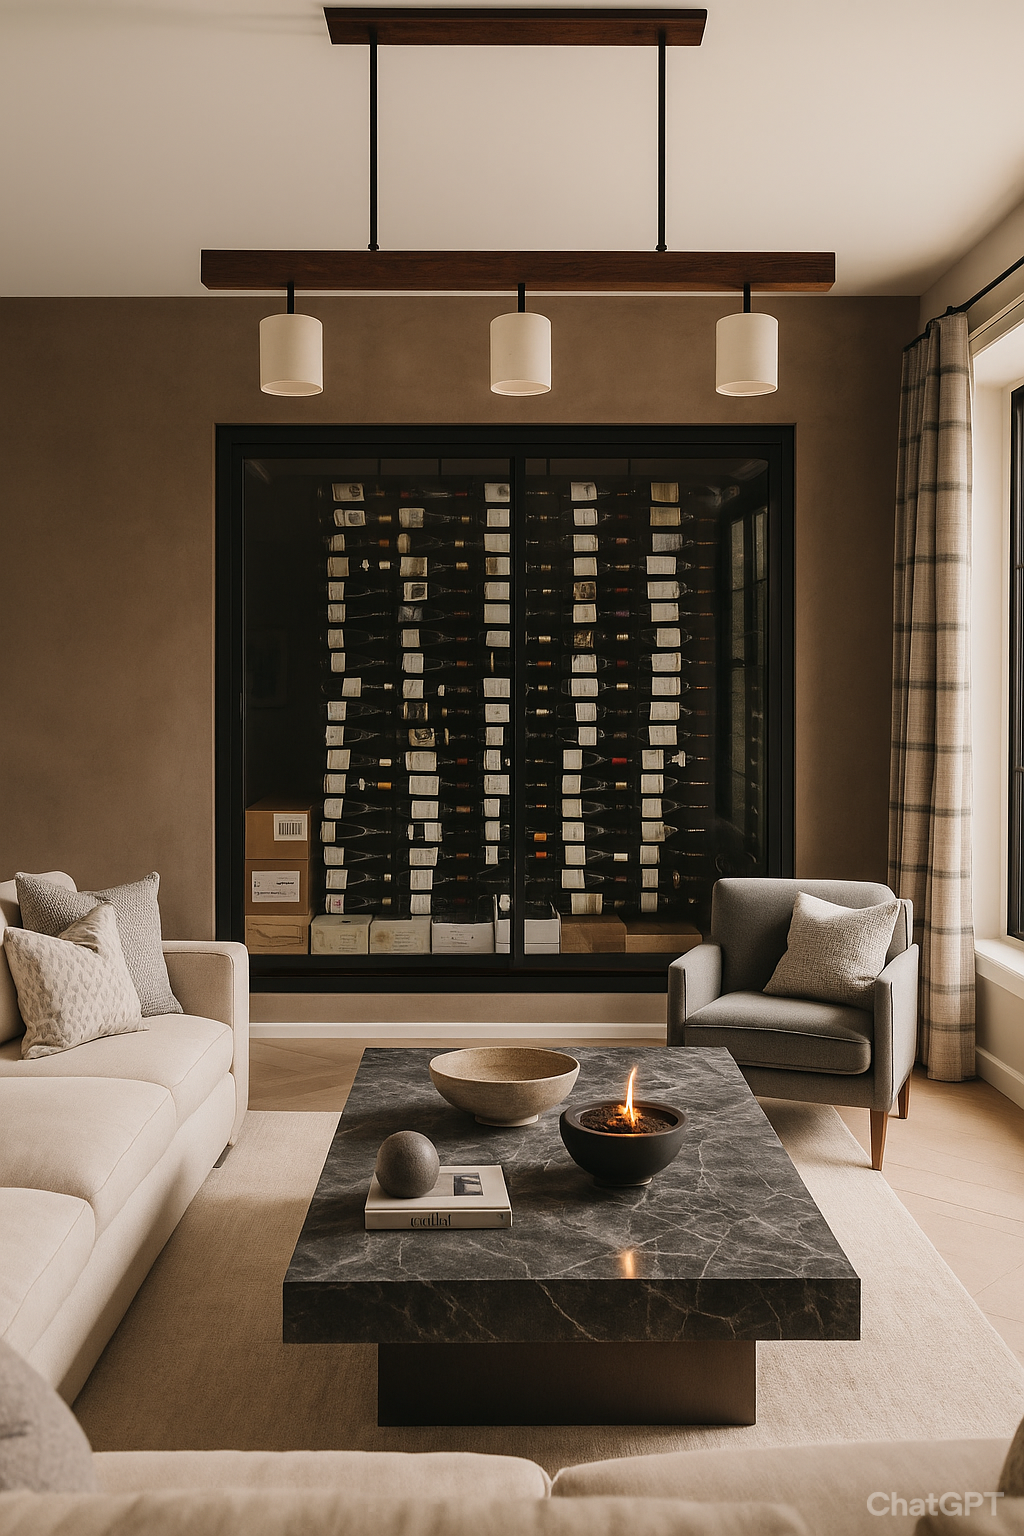

The difference between storing and preserving wine
Is the refrigerator too small and always full?